

Keeping your earring piercings happy and healthy is pretty simple once you get the hang of it, especially for those of us with a love for southwestern, estuarian cowgirl jewelry. It really just boils down to a few key things: choosing the right pieces, sticking to a solid cleaning routine, and making sure your piercing was done by a pro in the first place.
This is great news for any cowgirl at heart. It means you can absolutely rock your favorite turquoise studs and sterling silver hoops without having to worry about angry, irritated ears.
Your Guide to Healthy Piercings and Stunning Jewelry
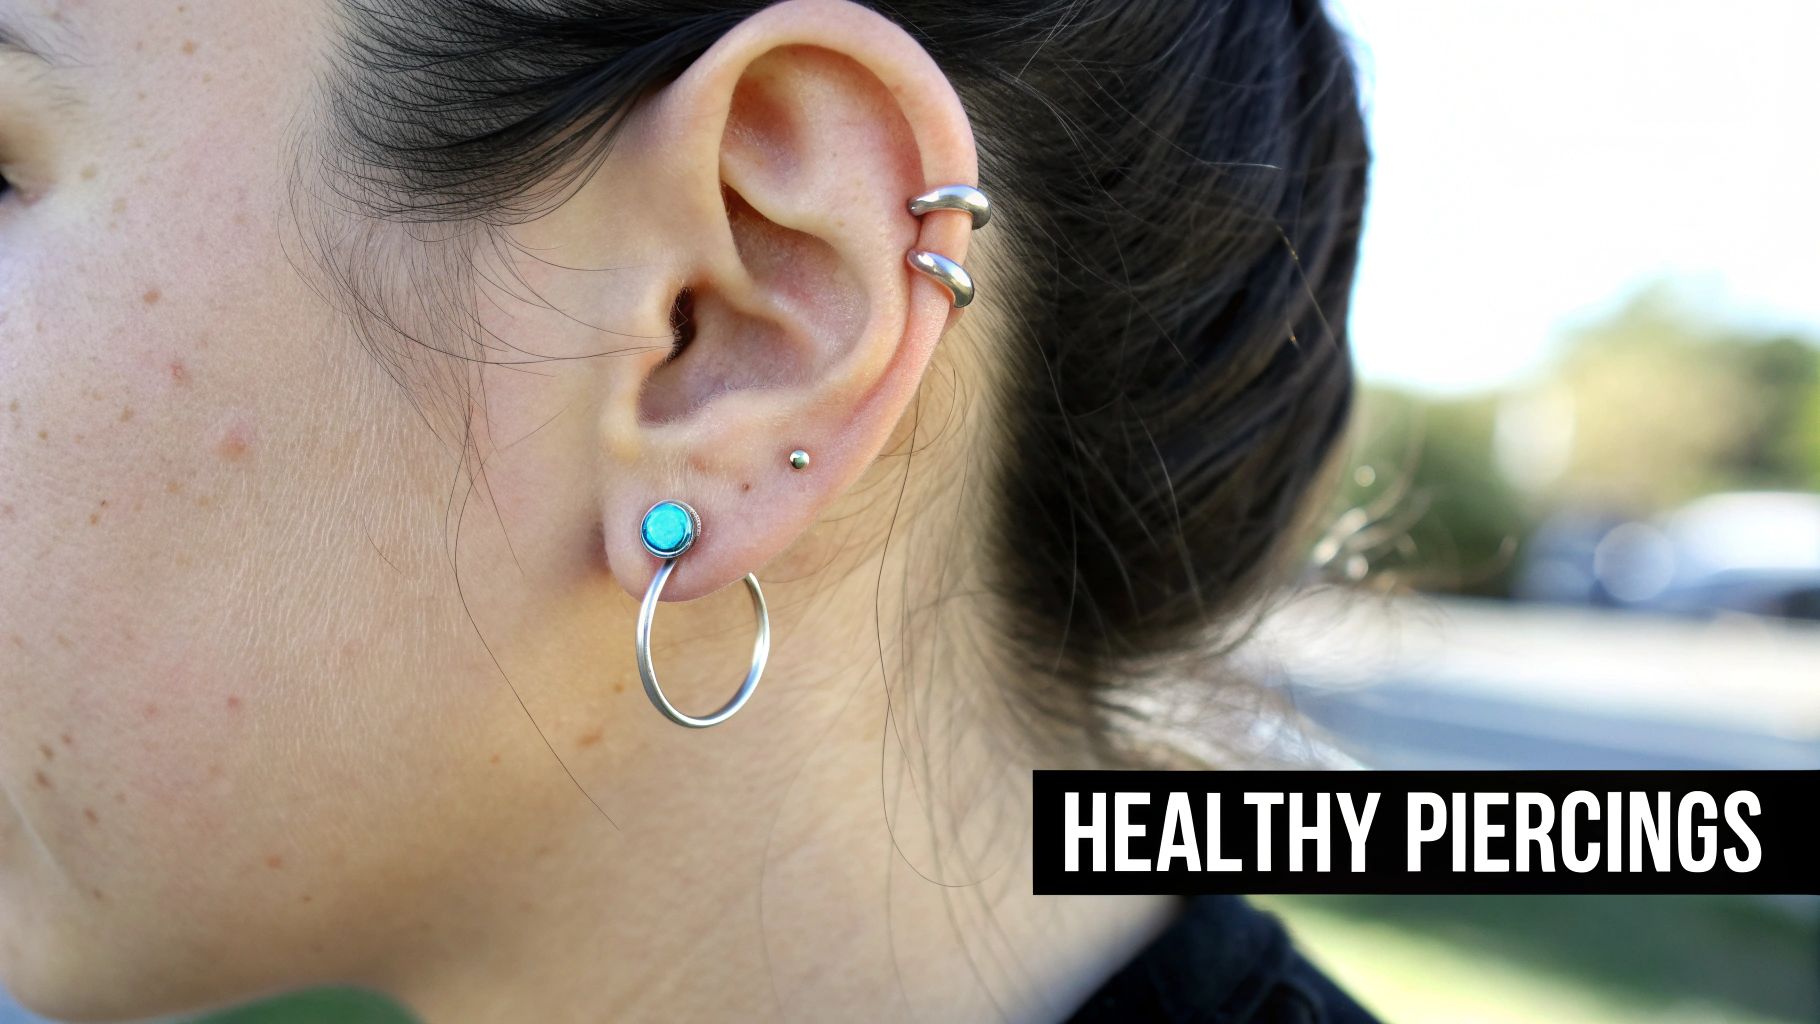
Think of this as your go-to guide for keeping your piercings healthy while showing off your favorite estuarian cowgirl jewelry. An earring infection is more than just a nuisance; it can put your best turquoise dangles on the sidelines and be genuinely painful. But here's the secret: most of these problems are completely avoidable with a little know-how.
This guide will give you a clear roadmap to wearing the pieces you love without any fear. We're going to get into practical, real-world advice for anyone who appreciates handcrafted, skin-friendly jewelry that speaks to a southwestern spirit.
Understanding the Common Culprits
Before we jump into the solutions, it helps to know what you're up against. Infections don't just happen out of nowhere—they have specific triggers, even when you're wearing high-quality pieces.
Most issues can be traced back to one of three things: the materials in your earrings, your cleaning habits, or how the piercing was done. Let's break down these common culprits.
| Quick Guide to Earring Infection Culprits |
| :--- | :--- | :--- |
| Common Cause | The Risk | Quick Prevention Tip |
| Improper Materials | Cheap metals, especially nickel, can cause allergic reactions that look and feel like an infection. | Stick with high-quality, hypoallergenic materials like sterling silver or surgical steel. |
| Inadequate Cleaning | Bacteria, skin cells, and oils build up, creating a perfect breeding ground for infection, especially in detailed silverwork. | A simple, daily cleaning routine is your best defense against buildup. |
| Poor Piercing Technique | An unprofessional job can introduce bacteria from the start and lead to healing problems. | Always go to a reputable piercer who follows strict hygiene standards. |
By getting a handle on these root causes, you can take control of your piercing's health and keep your ears ready for your favorite estuarian styles.
The risk is real, but don't let the numbers scare you. While some studies have found infection rates as high as 35% for ear piercings, modern piercing techniques and proper aftercare have brought serious complications down to less than 1%. The key is to start right. Always choose reputable professional piercing services that prioritize sterile environments and proper technique.
A healthy piercing is a partnership between a skilled professional and your own commitment to aftercare. Getting the first part right makes the second part infinitely easier.
Throughout this guide, we'll dive deeper into how to tackle each of these points. From picking out the best hypoallergenic sterling silver to mastering a cleaning routine that won't harm delicate turquoise, you'll have everything you need to keep your ears stylish and irritation-free.
Choosing the Right Piercing and Earring Materials
An infection-free experience doesn't start when you fasten a new pair of sterling silver concho earrings. It begins long before that. The real foundation for healthy, happy ears is set the moment you decide to get a new piercing, and making smart choices from day one is the single best way to prevent infections down the road.
This all comes down to two key things: the piercing method itself and the material of that first piece of jewelry. They aren’t all created equal, and knowing the difference is what ensures a smooth, easy healing process.
Professional Needles Versus Piercing Guns
The whole debate between a professional needle and a piercing gun from a mall kiosk isn't just about preference—it’s about the health of your ear tissue. Think about it: a delicate cartilage helix piercing is a world away from a simple lobe piercing. Your choice of method has to match the location.
So, what's the deal with piercing guns? They use blunt force to ram a stud through your ear. This brute-force approach can cause serious trauma, even shattering cartilage, which leads to a long and complicated healing journey. Worse, since the guns are typically plastic, they can't be properly sterilized in a medical autoclave. This creates a real risk of passing bacteria from one client to the next.
On the other hand, a professional piercer uses a hollow, single-use, medically sterilized needle. This method is incredibly precise, creating a clean channel through the tissue instead of just crushing it. The result? Less pain, less swelling, and a much smoother healing process—the critical first step in keeping infections at bay.
A piercing is a minor medical procedure. You should treat it with the same seriousness by choosing a trained professional who puts your health above speed or convenience.
It's not just opinion; studies consistently show the risks tied to piercing guns. The National Environmental Health Association has reported that these devices are linked to higher rates of infection and complications. A particularly scary outbreak in 2000 involved a spring-loaded gun causing multiple cases of Pseudomonas aeruginosa infections in cartilage piercings. You can dig into the official guidance on piercing safety policies to learn more.
Selecting Safe Materials for Sensitive Skin
Once you've got a clean, professional piercing, the next piece of the puzzle is the earring material. Your body will be in direct contact with this metal 24/7 for weeks, maybe even months, as it heals. The wrong choice can trigger an allergic reaction, which not only mimics infection symptoms but also makes your ear vulnerable to actual bacteria.
For anyone with sensitive skin, hypoallergenic metals are a must. Here are the best choices for new piercings and everyday wear:
- Surgical Stainless Steel: This medical-grade alloy is a workhorse. It’s highly durable, resists corrosion, and is the go-to standard in the piercing world for a reason.
- Titanium: Even more biocompatible than steel, titanium is super lightweight and completely nickel-free. It’s the perfect choice for people with extreme metal sensitivities.
- Sterling Silver: While gorgeous, sterling silver should be saved for fully healed piercings only. It’s made of 92.5% pure silver, which is great, but the other 7.5% can sometimes contain nickel or other alloys that will irritate unhealed tissue. For your Southwestern jewelry, always stick with high-quality sterling silver from sellers you trust.
The most common troublemaker behind metal allergies is nickel. It’s a cheap filler metal often found in low-quality fashion jewelry, and it’s notorious for causing redness, itching, swelling, and even blistering. An allergic reaction creates tiny breaks in the skin, basically opening the door for bacteria to walk right in and cause a secondary infection.
Sticking with quality materials is a simple but powerful way to keep your ears healthy—and ready for that stunning pair of turquoise earrings you’ve been eyeing. For a deeper look into skin-friendly options, check out our guide on hypoallergenic metals for earrings. By starting with a professional piercing and biocompatible jewelry, you're setting yourself up for a lifetime of enjoying beautiful earrings without the pain.
Your Daily Piercing and Earring Care Routine
Consistent, gentle care is your best defense against an angry piercing. Building a simple daily habit is the single most effective way to keep earring infections at bay, so you can wear your beloved Southwestern pieces without a second thought. It doesn’t have to be a big ordeal—just a few moments each day will keep your piercings clean, healthy, and ready for your favorite sterling silver hoops or turquoise studs.
Think of it like tending to a good pair of leather boots; a little upkeep goes a long way. This daily ritual clears away the natural buildup of oils, skin cells, and bacteria that inevitably gather around the piercing and on your jewelry itself.
Crafting Your Cleaning Ritual
Whether you're dealing with a brand-new piercing or one you've had for years, the goal is the same: get it clean without causing more irritation. The secret is using the right stuff. A lot of people instinctively reach for rubbing alcohol or hydrogen peroxide, but those are way too harsh. They’ll dry out your skin, slow down healing, and can even damage the delicate metals and stones in your jewelry.
Instead, a sterile saline solution is your absolute best friend. You can grab a pre-made piercing aftercare spray or easily mix your own. Just dissolve 1/4 teaspoon of non-iodized sea salt into one cup of warm distilled water.
Here’s a simple routine that works every time:
- Wash Your Hands First: Always, always start with clean hands. You don't want to introduce any new germs to the party.
- Soak a Clean Pad: Grab a sterile cotton pad or some non-woven gauze and saturate it with your saline solution.
- Gently Wipe the Area: Carefully clean the front and back of your piercing. Your goal is to gently wipe away any of the "crusties" that have formed.
- Pat It Dry: Use a fresh paper towel to gently pat the area completely dry. Skip the cloth towels—they can harbor bacteria and snag on your earrings.
This little guide breaks down the most important choices you can make for a healthy piercing, from the tool to the metal.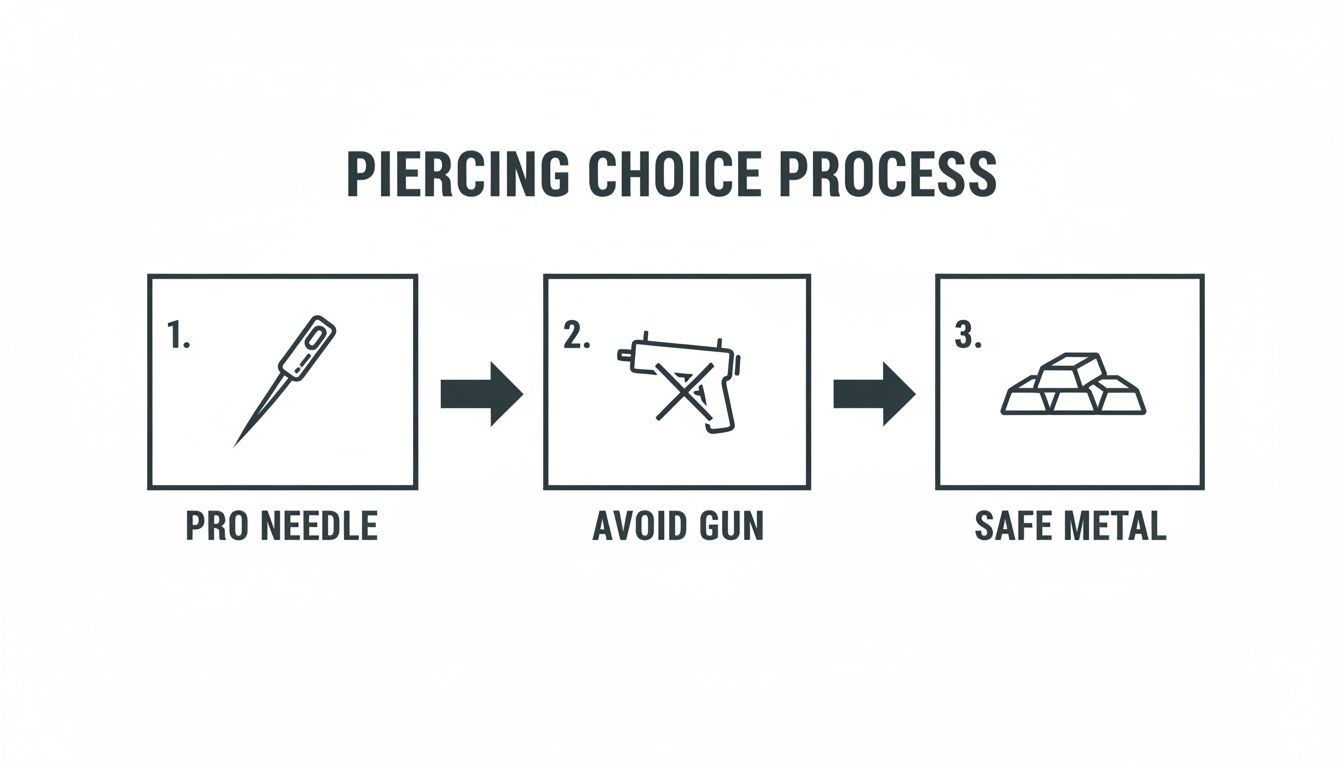
When you make smart moves from the very beginning—like insisting on a professional needle piercing—you set yourself up for an easy, drama-free healing process.
Crucial Tip: Resist the urge to twist or rotate your jewelry while cleaning, especially with a new piercing. This used to be common advice, but we now know it just tears the delicate new tissue (the fistula), inviting bacteria in and making healing take much longer.
Special Care for Healed Piercings and Your Jewelry
Once your piercing is fully healed, you can relax the routine a bit, but don't abandon it completely. It’s still a good idea to regularly clean both your ears and your jewelry. This prevents the buildup that leads to that funky "earring cheese" smell—which is really just a mix of dead skin cells and natural oils.
This is especially true for intricate Southwestern designs. All the gorgeous detail on a silver concho stud or the bezel setting around a turquoise stone can easily trap dirt. Cleaning them keeps irritation away and, just as importantly, keeps your jewelry looking its best. For a deeper dive into maintaining your collection, check out our guide on essential jewelry care habits that keep pieces shining.
When it comes to bacteria, knowing your enemy is half the battle. To really understand what you're up against, this guide on Staphylococcus aureus: A Guide to Identification, Risks, and Control is a great resource for learning about one of the most common culprits. By folding these simple habits into your routine, you create a healthy environment where your piercings can thrive, letting you show off your estuarian cowgirl style without a worry.
Special Care for Turquoise and Sterling Silver Jewelry
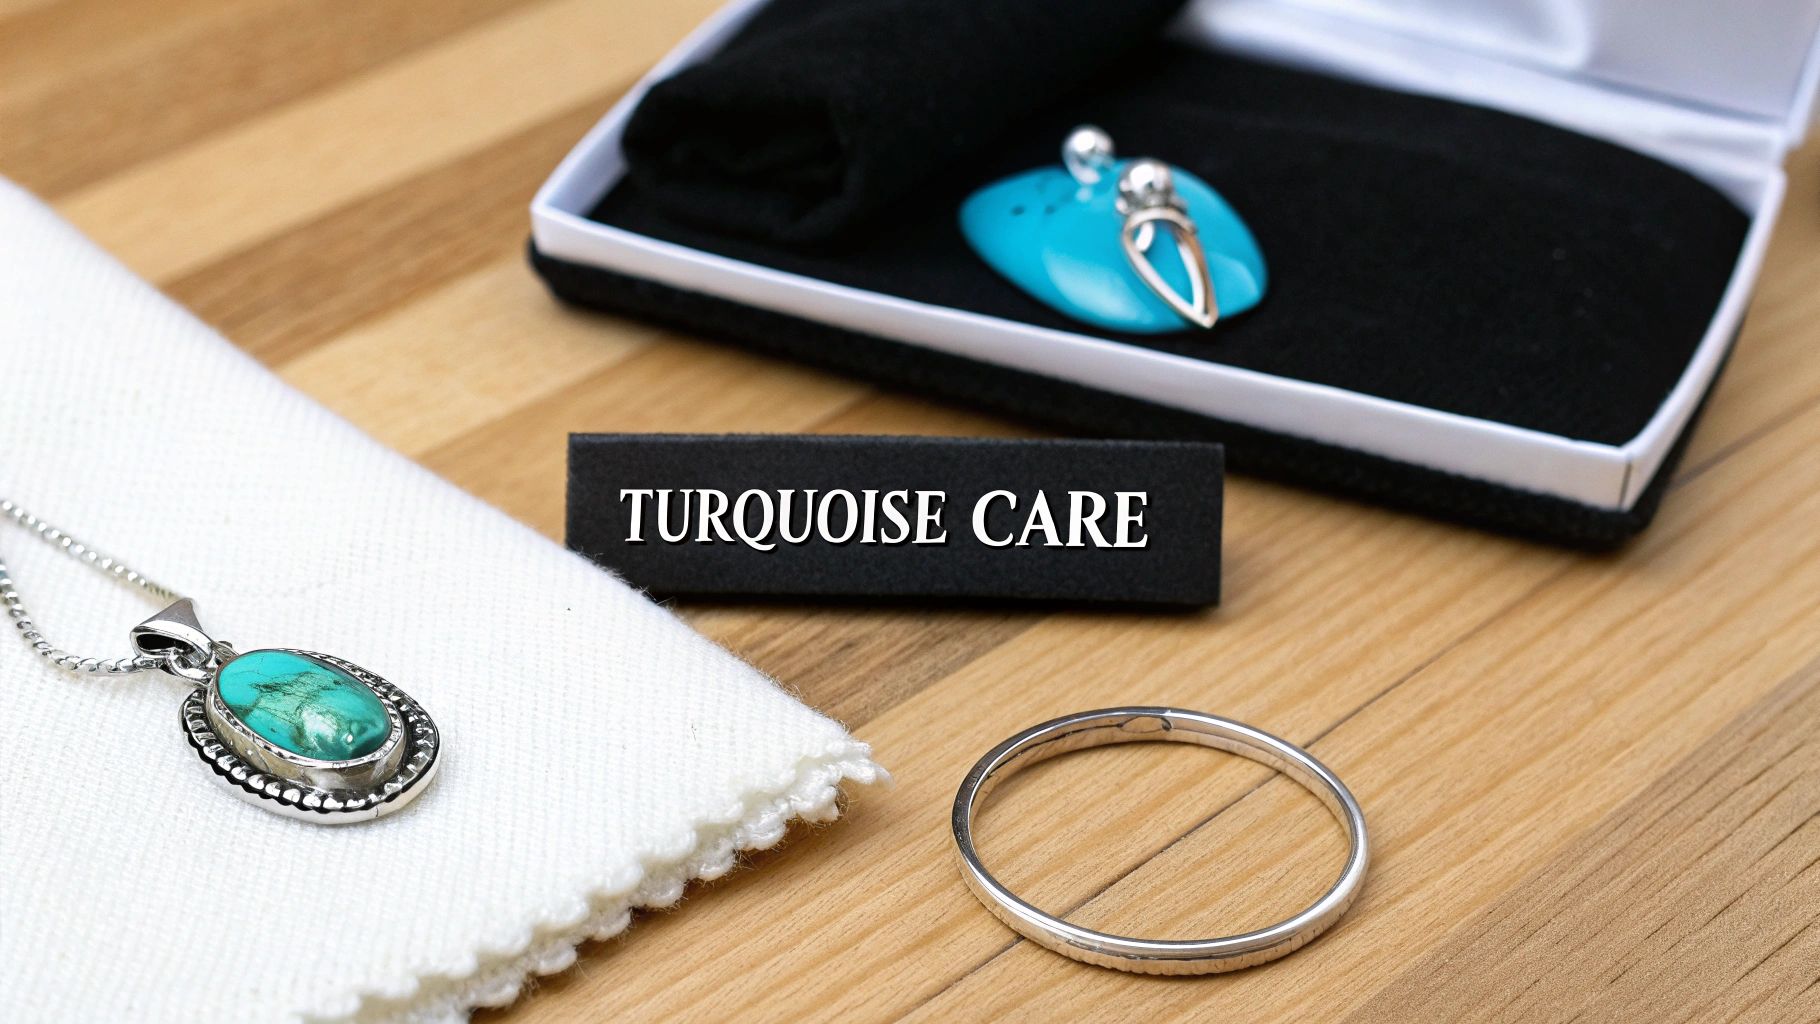
Your Southwestern jewelry is more than just an accessory—it's a piece of art. The very things that make it so stunning, like porous turquoise and intricate sterling silver, also mean it needs a special touch to stay hygienic and beautiful.
Turquoise is a soft, porous gemstone. Think of it like a tiny sponge; it can absorb oils, lotions, and harsh cleaning chemicals. If not cared for properly, this can create a hidden breeding ground for bacteria right next to your piercing.
Then there's the sterling silver. While the beautiful patina it develops, known as tarnish, isn't harmful, the buildup of skin cells and oils that contributes to it can definitely cause irritation.
Cleaning Silver Without Harming Gemstones
The real challenge is cleaning the silver without damaging the delicate turquoise set within it. Forget harsh chemicals, ultrasonic cleaners, and abrasive polishes—they're a fast track to a discolored or cracked stone.
Your best friend here is a simple, soft silver polishing cloth. Gently buff the metal parts of your earrings, being careful to avoid rubbing the turquoise too hard. This is the safest way to remove tarnish and buildup from the silver that touches your skin.
Need a slightly deeper clean? Use a tiny bit of mild soap and warm water on a super-soft brush, like a baby toothbrush. Focus only on the silver, rinse it quickly, and then dry the entire piece immediately and thoroughly.
Important Takeaway: Moisture is the enemy of both turquoise and a healthy piercing. Always make sure your earrings are completely bone-dry before you wear them or put them away. Trapped water can lead to bacterial growth and can even damage the gemstone over time.
For a more comprehensive look at keeping your silver radiant, check out our full guide on how to clean sterling silver jewelry at home.
What to Avoid with Turquoise and Silver
Sometimes, knowing what not to do is half the battle. Certain common cleaners can wreak havoc on your Southwestern jewelry and, in turn, irritate your piercings.
To make things easy, here’s a quick rundown of what to use and what to steer clear of.
Safe vs Unsafe Cleaners for Your Jewelry
| Cleaning Agent | Safe for Sterling Silver? | Safe for Turquoise? | Notes & Cautions |
|---|---|---|---|
| Mild Soap & Water | Yes, with care | No, avoid direct soaking | Always dry immediately and never submerge the stone. |
| Silver Polishing Cloth | Yes, highly recommended | Use carefully around the stone | This is your safest and most effective option. |
| Rubbing Alcohol | No, can be too harsh | No, absolutely not | Can strip protective coatings and dry out the stone. |
| Commercial Jewelry Dips | No, too aggressive | No, will damage the stone | These chemical dips are far too harsh for porous gems. |
| Ultrasonic Cleaners | No, can loosen settings | No, will cause fractures | The vibrations can easily crack turquoise or dislodge it. |
This table should help you keep your pieces safe, but don't forget about everyday products. Things like hairspray, perfume, and lotion can build up on your jewelry and cause skin irritation. A good rule of thumb is to make your earrings the last thing you put on.
Finally, proper storage is your last line of defense. Keep your jewelry in a cool, dry place, ideally in an anti-tarnish bag or a soft-lined box. This minimizes exposure to humidity, slows down tarnish, and keeps dust and bacteria from settling on your earrings between wears.
Keeping Piercings Healthy at Festivals and on Vacation
Your estuarian cowgirl style is made for adventure, but let's be real—festivals and travel can throw a wrench in your piercing care routine. The dust of an outdoor concert, the salt from an ocean swim, and just being away from your usual setup can introduce all sorts of new risks for irritation. But this isn't about skipping the fun; it's about being prepared so you can rock your favorite jewelry confidently on any journey.
The key is just a little bit of prep work. Before you even think about packing those gorgeous turquoise dangles, put together a compact piercing care kit. You don't need much—a small bottle of sterile saline spray or a pack of individual wipes can be an absolute lifesaver for quick, on-the-go cleanups after a long, dusty day.
Your On-the-Go Piercing Survival Kit
Being away from home means you need a simplified, totally portable version of your daily care. Think of it as a first-aid kit, but just for your ears. Tucking these essentials into your bag means you're ready for whatever the adventure throws at you.
A well-stocked kit really can make all the difference.
- Saline Wipes or Spray: Individual wipes are perfect for travel. They’re sterile, lightweight, and completely mess-free. A small spray bottle works just as well for a quick flush when you need it.
- Sterile Non-Woven Gauze: This is so much better than cotton balls, which can leave behind annoying fibers that get caught in your jewelry. A small stack of gauze pads is ideal for gently drying your piercings after cleaning.
- A Small, Hard-Sided Case: Please don't just toss your earrings into a makeup bag! A dedicated case keeps them from getting bent, dirty, or lost. For more tips on this, explore our guide on the best jewelry storage ideas to keep your pieces safe at home and on the road.
This simple setup takes up almost no space but provides huge peace of mind, especially if you feel that first twinge of irritation while miles from home.
Navigating Travel and Festival Challenges
Outdoor events and new environments come with their own unique challenges. A dusty festival field, humid beach air, or even just a quick dip in the hotel pool can introduce bacteria to your piercings. It pays to be extra vigilant during these times.
If you're at a multi-day festival, for example, make it a habit to clean your piercings every single night before bed. This simple step removes the day's buildup of sweat, dust, and sunscreen that can easily clog the piercing and lead to trouble. And if you go for a swim in the ocean or a lake, be sure to rinse your ears with fresh, clean water right afterward and follow up with your saline spray.
Pro Tip: When you're traveling, consider wearing smaller, simpler studs or sleepers. Large, dangly Southwestern earrings are stunning, but they're far more likely to get snagged on clothing, hair, or festival crowds. That kind of trauma can irritate the piercing site and open the door for an infection.
It’s especially important to be careful with cartilage piercings, which are a known hotspot for difficult infections. In fact, data shows that infections related to body piercings can affect 10-30% of people, with ear-specific rates sometimes climbing as high as 35%.
The bacterium Pseudomonas aeruginosa is responsible for a staggering 95% of perichondritis cases (a nasty cartilage infection), which really highlights the need for smart prevention. The good news is that starting with a professional piercer and always choosing hypoallergenic posts prevents most of these problems from ever happening. You can learn more about the risks associated with different piercing types from public health resources.
What to Do If Irritation Strikes
Even with the best preparation, you might feel some soreness. First thing's first: don't panic. Immediately clean the area with your saline solution and take a close look at the earring. Is the backing on too tight? Is there any visible dirt trapped around the post?
If the irritation sticks around for more than a day or you see signs of a true infection—like significant swelling, yellow discharge, or skin that’s hot to the touch—it's time to act. Find a local pharmacy for an antiseptic piercing spray if you need one. If it gets any worse, don't hesitate to visit a walk-in clinic. Addressing a potential infection early is always the best strategy for a quick recovery.
Knowing When to See a Doctor for an Earring Infection
While a great cleaning routine is your first line of defense, knowing when to wave the white flag and call a doctor is just as crucial. Most of the time, a little soreness or redness after a snag is just your body doing its thing. But ignoring the warning signs of a real infection can turn a small issue into a much bigger problem.
It’s all about learning to listen to your body. Your ears will tell you what’s going on; you just need to know how to interpret the signals.
Differentiating Irritation from Infection
It’s so easy to mix up simple irritation with a full-blown infection, especially if your piercings are new or your skin is on the sensitive side.
Irritation is usually mechanical—think snagging an earring on a sweater or reacting mildly to a new metal. You’ll probably see some temporary redness, maybe a bit of itching, or a tiny amount of clear, watery fluid. It’s annoying, but it typically calms down on its own.
An infection, though, is a different beast entirely. That’s when bacteria have crashed the party, and the symptoms get more intense and just won't quit. For anyone with metal sensitivities, figuring out if it's an allergy or an infection is the first step. You can get more familiar with the signs by reading our guide to sterling silver allergy symptoms.
Red Flags That Warrant Medical Attention
If your symptoms feel like they're escalating beyond just mild discomfort, it's time to get a professional opinion. Don't just "wait and see" if you notice any of these signs. Getting ahead of an infection is key.
- Persistent or Worsening Pain: A dull ache is one thing. But if the pain is throbbing, constant, or getting noticeably worse, that’s a major red flag.
- Significant Swelling and Heat: Is the area around the piercing hot to the touch? Is the swelling obvious or spreading? Your body is sounding the alarm.
- Yellow or Green Discharge: Any thick, pus-like fluid—especially if it has an odor—is a classic sign of a bacterial infection. Clear fluid is often normal; yellow or green is not.
- Radiating Redness: Look for a red streak spreading outward from the piercing. This can indicate the infection is on the move.
- Fever or Chills: If you start feeling sick all over with a fever or chills, the infection may have become systemic. This requires immediate medical care.
A bit of initial soreness is normal, but an infection will feel different—more aggressive, painful, and persistent. Trust your gut; if something feels truly wrong, it probably is. Seeking medical advice is never an overreaction when these symptoms are present.
Answers to Your Earring Care Questions
When you're falling in love with a new pair of Southwestern earrings, the last thing you want is for a piercing problem to get in the way. It’s totally normal to have questions, especially when it comes to keeping sensitive ears happy. We’ve rounded up the most common concerns we hear and are here to give you clear, simple answers so you can wear your jewelry with complete confidence.
Can I Be Allergic to Sterling Silver Earrings?
This is a huge concern for so many people, but a true allergy to pure silver itself is incredibly rare. Nine times out of ten, the problem isn't the silver—it's what the silver is mixed with.
Genuine sterling silver is 92.5% pure silver, and the other 7.5% is typically copper, which is very skin-friendly. The real troublemaker is nickel, a common allergen often used in lower-quality "silver" or plated jewelry. That’s what causes the dreaded itchiness, redness, and irritation. If your ears are acting up, the first step is making sure your earrings come from a trusted source that guarantees high-quality, nickel-safe materials.
An "allergy" to sterling silver is almost always a reaction to nickel hiding in the alloy. Always invest in genuine, high-quality sterling silver to avoid this common problem and prevent earring infections linked to irritation.
How Soon Can I Change My New Piercing Earrings?
I know it's tempting, but patience is absolutely key here. For a standard earlobe piercing, you need to wait a bare minimum of 6 to 8 weeks before swapping out those starter studs. Seriously, don't rush it.
Cartilage piercings, like a helix or a conch, are a whole different ballgame. They heal much more slowly and can take anywhere from 6 to 12 months to be fully ready for a change. If you swap out the jewelry too early, you risk tearing the delicate healing tissue, introducing bacteria, and kicking off a nasty infection you really don't want to deal with.
Is It Safe to Sleep in My Turquoise Studs?
Once your piercing is completely healed, sleeping in small, comfortable studs is generally fine. The trick is to choose earrings with flat backs or smooth, rounded posts that won't poke, prod, or snag on your pillowcase while you toss and turn. This is a simple way to prevent earring infections caused by minor, repetitive irritation overnight.
That said, it’s always a good idea to take out larger, dangling Southwestern styles before you go to bed. This does two things: it protects your earlobe from an accidental tear, and it protects delicate gemstones like turquoise from getting damaged under pressure. For brand-new piercings, though, you have to keep your starter studs in 24/7—no exceptions—or the hole will start to close up.
How Can I Tell if It's an Irritation or an Infection?
It's so easy to mix these two up, but knowing the difference is critical. Here’s how to tell what you’re dealing with:
- Irritation: This is usually a physical issue—you snagged your earring, or you have a mild sensitivity to the metal. You'll notice some light redness, maybe some itching, and perhaps a bit of clear, watery fluid. It typically calms down on its own once the source of the irritation is gone.
- Infection: This is a bacterial problem and it’s much more serious. The signs are hard to miss: throbbing pain, significant swelling, skin that feels hot, and thick discharge that’s yellow or green. An infection needs to be treated and won't just resolve by itself.
If you suspect an infection, and especially if you're running a fever, don't wait. It’s time to see a doctor.
Ready to accessorize with confidence? Explore the stunning, skin-friendly Southwestern designs at Silver Elegant and find your next favorite pair of hypoallergenic sterling silver earrings today. Visit us at https://silverelegant.com.